
Tyre Pressure, Tread Depth, and When to Replace: A Practical Checklist

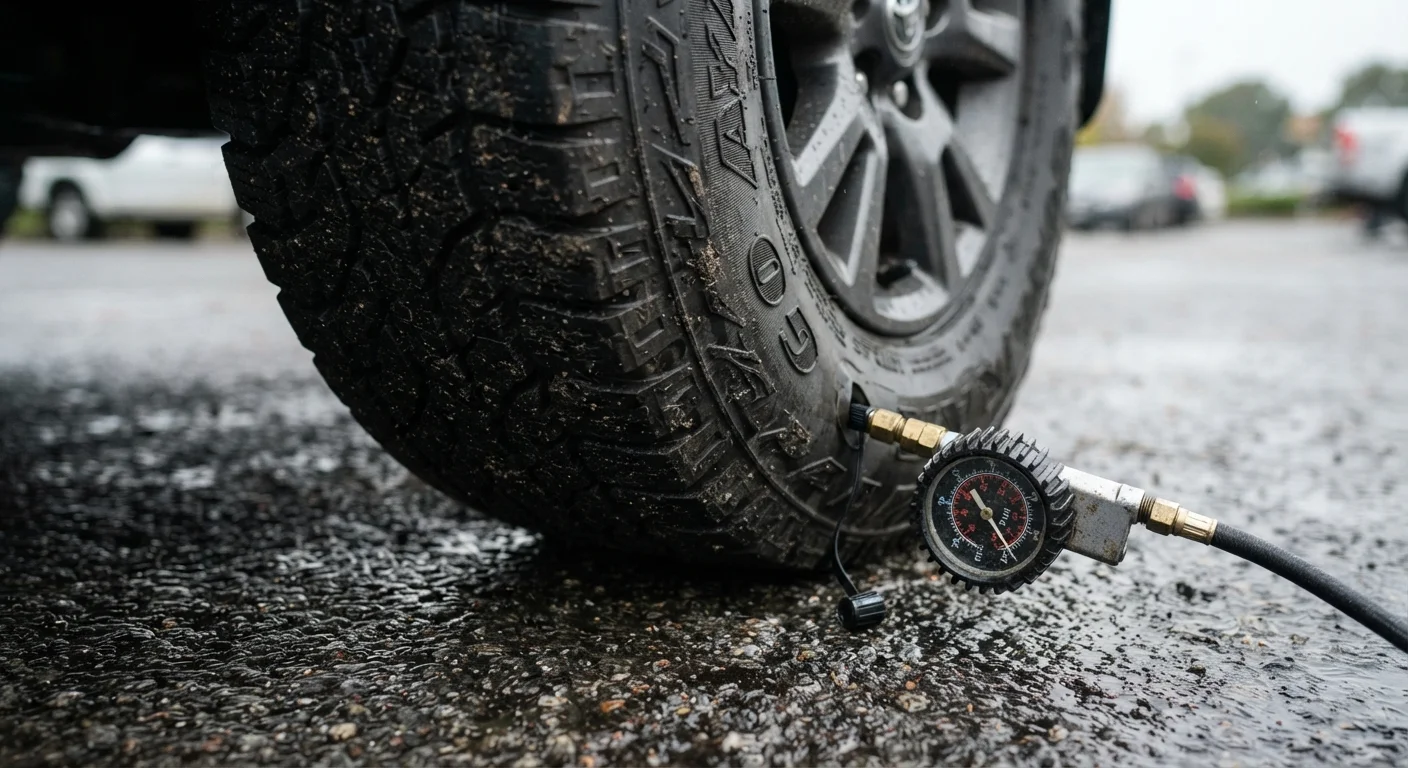
Photo: InsightsTurbo.com | Kickstart Your Knowledge Quest editorial
Key Takeaways
- Under-inflated tyres increase stopping distance and reduce fuel efficiency noticeably.
- The US federal minimum tread depth is 2/32 of an inch - many safety experts recommend replacing at 4/32".
- Tyre pressure should be checked monthly and always when the tyres are cold.
- Uneven tread wear often signals an alignment or suspension issue, not just tyre age.
- All four tyres - including the spare - should be inspected on the same schedule.
Why Tyres Deserve More Attention Than They Usually Get
For most new vehicle owners, tyres are an afterthought - something to deal with when they go flat or the dashboard light comes on. That's a costly habit. Tyres are the only part of your vehicle in contact with the road, and their condition shapes everything from fuel economy to emergency braking performance.
This checklist gives you a repeatable system to inspect tyre pressure, assess tread depth, and recognise the warning signs that mean replacement can't wait. It's designed to work alongside the routine checks covered in our guide to keeping a car in good shape between professional services, where tyre condition is one of several quick-win checks any driver can handle independently.
Run through this checklist once a month and before any long drive. The whole process takes under 30 minutes with the right tools.
Tyre pressure gauge (dial or digital)
Measures tyre inflation precisely so you can match the manufacturer's recommended PSI.
Tread depth gauge
Gives a precise measurement in 32nds of an inch across the tyre width for accurate wear assessment.
Penny and quarter coins
Provide a quick low-tech method for estimating tread depth at the 2/32" and 4/32" thresholds.
Vehicle owner's manual
Contains the manufacturer's recommended tyre pressure, tyre size specifications, and rotation intervals.
Portable tyre inflator or air compressor
Allows you to correct pressure at home rather than driving to a service station on underinflated tyres.
How to Use This Checklist
Work through the groups in order. Tyre pressure should always come first because incorrect inflation affects every other aspect of tyre performance, including how tread wear reads. Tread depth follows, then a visual damage pass around each tyre. The final group helps you decide whether an issue calls for monitoring or immediate action.
For each item marked must: this is non-negotiable for basic safety and legal compliance in the US. Items marked should represent strongly recommended best practice. Check all four road tyres plus your spare on the same cycle - a spare with cracked sidewalls or zero tread won't help you when you need it.
If this is part of your pre-trip preparation, also run through the pre-drive vehicle checks that cover lights, mirrors, and fluid levels alongside tyre condition.
Tyre Pressure Checks
Tread Depth Inspection
Visible Damage and Wear Patterns
When to Replace
Reading the Results: What Wear Patterns Tell You
Tread wear is rarely perfectly even, and the pattern it leaves is diagnostic information. Here's a quick reference:
- Centre wear only: Tyre has been consistently over-inflated. The centre of the contact patch carries too much load.
- Both outer edges worn: Chronic under-inflation causes the tyre to flex excessively, loading the edges. This is the most common pattern and one of the clearest signs to check your pressure habits.
- One-sided wear: The suspension geometry is off - typically a toe or camber alignment issue. New tyres will replicate the same problem until alignment is corrected.
- Cupping or scalloping: Rhythmic high-and-low spots across the tread indicate the tyre is bouncing rather than rolling smoothly. Worn shocks or struts are the usual cause.
- Feathering (rounded on one side, sharp on the other): A toe alignment problem, where the tyre is scrubbing sideways as it rolls.
Uneven wear patterns mean new tyres are only part of the fix. A tyre technician or mechanic should assess alignment and suspension before or at the time of replacement to protect the investment.
Never trust the number on the tyre sidewall
Uneven wear can mean a bigger problem
Making the Go/No-Go Decision
After completing the inspection, you'll fall into one of three categories:
- All clear: Pressure is correct, tread is above 4/32" with even wear, and no visible damage. Set a reminder to repeat in 30 days.
- Monitor closely: Tread is between 3/32" and 4/32", pressure was low but correctable, or there's a minor wear pattern developing. Recheck in two to four weeks and start researching replacement options.
- Act now: Tread at or below 2/32", a sidewall bulge, any embedded object, cracking, or structural damage. Do not defer - have the tyre assessed or replaced before the vehicle is driven further than necessary.
Tyre condition is also a factor worth revisiting before a long road trip. The pre-trip checklist includes tyre checks alongside other vehicle and logistics preparation for any journey.
Driving on worn tyres affects braking, not just grip
The content provided on our blog site traverses numerous categories, offering readers valuable and practical information. Readers can use the editorial team’s research and data to gain more insights into their topics of interest. However, they are requested not to treat the articles as conclusive. The website team cannot be held responsible for differences in data or inaccuracies found across other platforms. Please also note that the site might also miss out on various schemes and offers available that the readers may find more beneficial than the ones we cover.