
Patching Drywall Without Calling a Pro

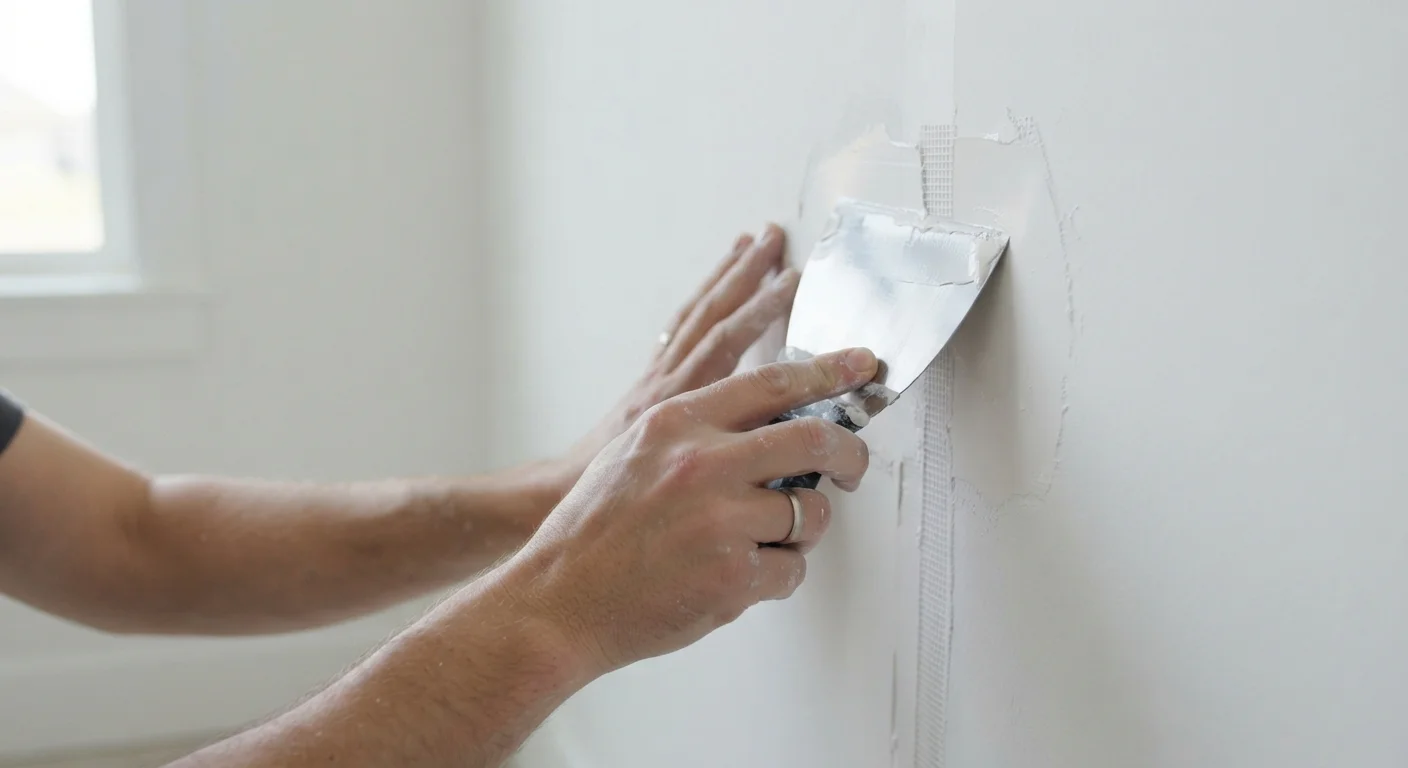
Photo: InsightsTurbo.com | Kickstart Your Knowledge Quest editorial
Key Takeaways
- Nail holes and small dents can be fixed in minutes using spackling compound and a putty knife.
- Medium holes up to 6 inches across require a patch kit or backer board - no professional needed.
- Feathering your compound layers is the single biggest factor in an invisible, smooth finish.
- Drying time between coats matters - rushing leads to cracking and visible seams.
- Matching texture and paint sheen is what makes a patch truly disappear.
What You'll Need Before You Start
Drywall repair is one of the most approachable home improvement tasks - the materials are inexpensive, and most of the tools are ones you may already own. If you're still building out your toolkit, our guide to essential home tools covers exactly what's worth having on hand for jobs like this one.
Putty knife or drywall knife (4-6 inch)
Applies and smooths spackling compound or joint compound over the repair area.
Spackling compound
Fills nail holes, small dents, and minor surface imperfections quickly.
All-purpose joint compound ("mud")
Used for medium and larger patches where multiple coats and feathering are required.
Self-adhesive mesh patch or patch kit
Provides structural backing for holes between 1-6 inches in diameter.
Sandpaper (120 and 220 grit)
Smooths each dried coat of compound to create a flush, even surface.
Primer (drywall or all-purpose)
Seals the patched area before painting so the topcoat applies evenly.
Backer board or furring strip
Supports a drywall cut-out patch from behind when the hole is larger than 6 inches.
Utility knife
Cuts away ragged edges around larger holes and scores drywall cleanly.
Before starting any repair larger than a nail hole, gather everything above so you're not mid-project and hunting for supplies.
What you will need
New to DIY altogether? The beginner's guide to home improvement is a good starting point for building the confidence and basic skills this kind of task requires.
Check for Pipes and Wires First
Step-by-Step Repair Instructions
Work through each step in order. Rushing any stage - especially drying time - is the most common reason a DIY patch ends up visible. Patience between coats is genuinely the difference between a patch that disappears and one that you'll always notice.
The Feathering Technique Makes or Breaks the Finish
Assess the damage and choose the right method
The repair approach depends entirely on hole size. Use this as a quick guide:
- Nail holes and dents under ¼ inch: Spackling compound applied directly - simplest fix.
- Holes between ¼ inch and 4-6 inches: Self-adhesive mesh patch plus joint compound.
- Holes larger than 6 inches: Cut out a clean rectangle, fit a drywall piece with backer support, tape seams, then compound.
Clean away any loose paper, crumbled gypsum, or protruding nails before moving forward.
Prepare the damaged area
For small holes, wipe the surface clean with a damp cloth and let it dry. For medium holes, use a utility knife to trim away any torn paper or loose edges so the mesh patch sits flat against solid drywall. For larger holes, use a drywall saw or utility knife to cut a clean rectangle around the damage - square or rectangular shapes are much easier to patch than irregular ones.
Apply backing support for larger holes
For holes over 6 inches, you need something for the new drywall piece to screw into. Cut two furring strips or scrap wood pieces slightly longer than the hole's height. Slide each strip behind the wall through the opening, positioning them along the left and right edges of the hole. Hold each strip flush against the back of the wall and drive drywall screws through the existing drywall into the strip on both sides. Cut a drywall piece to fit the opening precisely, then screw it into the furring strips.
Apply the first coat of compound
For nail holes, press a small amount of spackling compound into the hole with a putty knife, dragging the blade flat across the surface to remove any excess. Let it dry completely.
For medium holes, press the self-adhesive mesh patch firmly over the hole, then spread joint compound over it with a 4-6 inch knife, forcing compound into the mesh. Extend the coat about 2 inches beyond the patch edges. For larger repairs, embed paper drywall tape over all seams before the first compound coat - press it into wet compound, then skim another thin layer over the tape.
Sand, apply second and third coats, and sand again
Once the first coat is fully dry, lightly sand it with 120-grit sandpaper to knock down any ridges. Wipe away dust with a dry cloth. Apply a second coat of compound that extends 2-3 inches wider than the first, feathering the edges. Let it dry fully, then sand again. For larger repairs, a third coat is typically needed. Finish with 220-grit sandpaper for a smooth, near-invisible surface. Run your hand over the area - you should feel no ridge between the patch and the original wall.
Prime and paint the repair
Apply a coat of drywall primer to the patched area before painting. Bare compound absorbs paint differently than the surrounding wall, and skipping primer almost always results in a dull, flat spot that shows through - even if you use the same paint color. Once the primer is dry, apply your wall paint. Use the same sheen level as the surrounding wall; mismatched sheen is one of the most common reasons patches remain visible. If texture matching is needed, practice your technique on a scrap piece of drywall before applying it to the wall.
For guidance on getting an even finish, see why freshly painted walls look uneven - the preparation steps apply directly here.
Don't Skip the Drying Time
Unsure whether a repair is worth tackling yourself? Our breakdown of DIY vs. hiring a tradesperson can help you weigh that decision honestly - especially for larger or repeated damage where a professional inspection might make more sense.
The content provided on our blog site traverses numerous categories, offering readers valuable and practical information. Readers can use the editorial team’s research and data to gain more insights into their topics of interest. However, they are requested not to treat the articles as conclusive. The website team cannot be held responsible for differences in data or inaccuracies found across other platforms. Please also note that the site might also miss out on various schemes and offers available that the readers may find more beneficial than the ones we cover.