
Home Improvement for Complete Beginners: Where to Actually Start

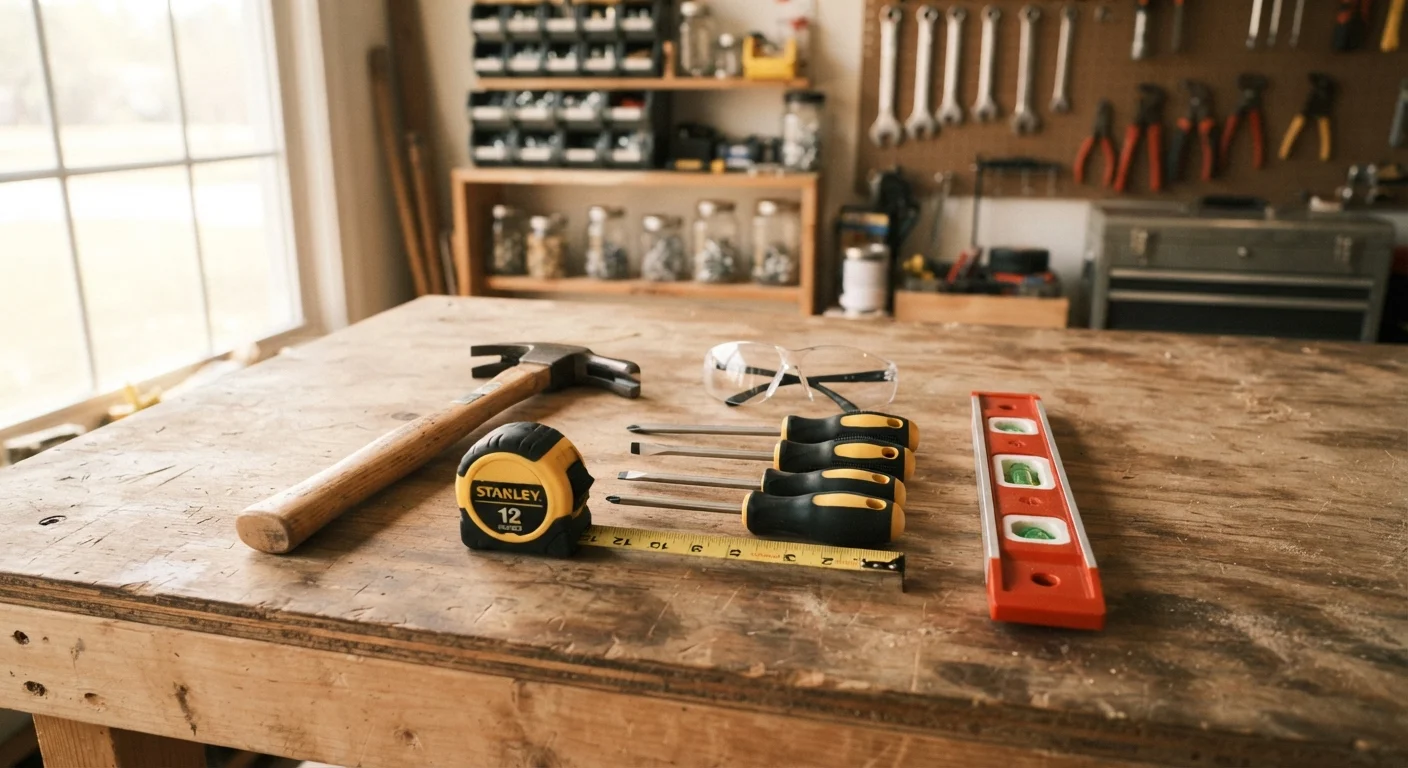
Photo: InsightsTurbo.com | Kickstart Your Knowledge Quest editorial
Key Takeaways
- Start with small, low-risk projects to build skill and confidence before tackling bigger jobs.
- A compact toolkit of around 10 basic tools handles the majority of everyday home tasks.
- Safety gear and knowing where your utility shutoffs are located are non-negotiables from day one.
- Electrical, gas, and structural work almost always requires a licensed professional and permits.
- Renters must check their lease before making any modifications, however minor they seem.
Why Starting Small Is the Right Move
Most people stall before they ever pick up a tool - not because home improvement is genuinely hard, but because the gap between "I know nothing" and "I want a finished result" feels enormous. The fix is simple: shrink the gap. Starting with small, contained tasks gives you real skill without real risk.
If you're setting up your first home, you're already dealing with a lot at once. Our complete home setup roadmap covers the big-picture priorities, while this guide zeroes in on the hands-on side - the repairs, fixes, and improvements you can tackle yourself.
Think of early projects as practice runs. Assembling flat-pack furniture teaches you to follow instructions and use a screwdriver correctly. Hanging a shelf teaches measurement, level use, and how to find a wall stud. Neither task is glamorous, but both build the muscle memory and problem-solving habits you'll rely on for every future project.
Document Before You Modify Anything
The Essential Tools Every Beginner Needs
You don't need a garage full of equipment. A focused starter kit handles most household tasks without overwhelming your budget or your storage space. Our detailed guide to building a home toolkit goes deeper on each item, but here's the core list:
- Tape measure - 25 feet covers almost every interior job
- Hammer - a 16 oz. claw hammer works for driving nails and light demolition
- Screwdrivers - both Phillips (#2) and flathead in medium size
- Cordless drill with a basic bit set - the single most useful power tool a beginner can own
- Level - a 24-inch torpedo level keeps shelves and frames straight
- Utility knife - for scoring, trimming, and opening packaging cleanly
- Adjustable wrench and pliers - handle most basic plumbing and fastener tasks
Buy tools as projects demand them rather than all at once. A drill you've used ten times is worth more than a full set you've never touched.
Stud
A vertical wooden or metal framing member inside your walls. Drilling into a stud gives screws and anchors a solid grip - important for anything you're hanging that has weight.
Caulk
A flexible, waterproof sealant applied along joints and gaps - common around bathtubs, sinks, and window frames - to prevent moisture from getting behind surfaces.
Load-bearing wall
A wall that supports the structural weight of the home above it. Removing or altering one without professional guidance can cause serious structural damage.
PPE (Personal Protective Equipment)
Gear worn to protect your body during a task - for home improvement, this typically means safety glasses, work gloves, and dust masks.
Voltage tester
An inexpensive handheld device that detects whether an electrical wire or outlet is live (carrying current). Using one before drilling or working near wires is a basic safety step.
Permit
Official approval from your local government required for certain types of home improvement work. It ensures the job is inspected and meets safety codes.
Safety Fundamentals Before You Touch Anything
Safety isn't a formality - it's what separates a productive weekend project from an emergency. Before you start any task, cover these basics:
- Know your shutoffs. Locate the main electrical panel, the water main shutoff, and your gas meter shutoff. Label them if they aren't already. This knowledge is critical in any emergency, even ones you didn't create.
- Wear appropriate PPE. Safety glasses protect against dust and debris. Work gloves reduce cuts and abrasions. Dust masks (rated N95 or higher) matter when sanding or disturbing old materials.
- Test before you cut or drill. Use an inexpensive stud finder and a voltage tester to check walls before drilling. Hitting a live wire or a water pipe is a serious hazard.
- Respect old materials. Homes built before 1978 may contain lead paint; those built before the early 1980s may have asbestos in insulation or floor tiles. Disturbing these materials without professional guidance is dangerous.
Older Homes May Contain Hazardous Materials
For anything involving your electrical panel, gas lines, or structural elements, stop and call a licensed professional. These are not beginner jobs, regardless of how many tutorials exist online.
First Projects That Build Real Skills
The best first projects are low-cost, visually satisfying, and genuinely teachable. Here are four that work well for beginners:
- Patching small drywall holes
- A squeezable patching compound and a putty knife are all you need for nail holes or small dings. Sand smooth, prime, and paint. You'll learn material handling and finishing technique.
- Replacing a door handle or cabinet hardware
- Usually involves only a screwdriver. It teaches you to work with existing fixtures and gives a noticeable aesthetic upgrade for minimal effort or cost.
- Caulking a bathtub or sink
- Old caulk cracks and allows moisture damage. Removing the old bead, cleaning the surface, and applying a fresh line of caulk is an afternoon job that prevents real water damage. Our caulk and grout glossary explains the terminology clearly.
- Installing a low-voltage smart thermostat
- Most smart thermostats replace existing wiring with simple clip connectors and include clear instructions. This is one of the few electrical-adjacent tasks that's genuinely beginner-appropriate - but always confirm your system's wiring type first.
When to DIY and When to Call a Pro
Knowing your limits is a skill, not a weakness. The question isn't just "can I do this?" but "what happens if I get it wrong?" For a fuller breakdown, see our article on DIY vs. hiring a tradesperson.
As a general rule, DIY is appropriate for cosmetic work (painting, patching, hardware swaps), furniture assembly, minor weatherstripping, and basic unclogging. Call a licensed professional for anything involving your home's electrical panel, gas appliances, load-bearing walls, roofing, or main plumbing connections.
Permits are also part of this equation. Many homeowners don't realize that skipping a required permit can complicate insurance claims and home sales. Our article on home improvement permits covers exactly when they apply and what's at stake.
Starting with the right projects, the right tools, and a clear sense of where the line is - that's genuinely where home improvement begins. Every competent DIYer you've ever met started exactly where you are now.
This article is for general informational and educational purposes only. Always consult local building codes, a licensed contractor, or a qualified professional before undertaking any work involving electrical systems, gas, plumbing, or structural elements in your home.
Renters: Check Your Lease First
Frequently Asked Questions
The content provided on our blog site traverses numerous categories, offering readers valuable and practical information. Readers can use the editorial team’s research and data to gain more insights into their topics of interest. However, they are requested not to treat the articles as conclusive. The website team cannot be held responsible for differences in data or inaccuracies found across other platforms. Please also note that the site might also miss out on various schemes and offers available that the readers may find more beneficial than the ones we cover.